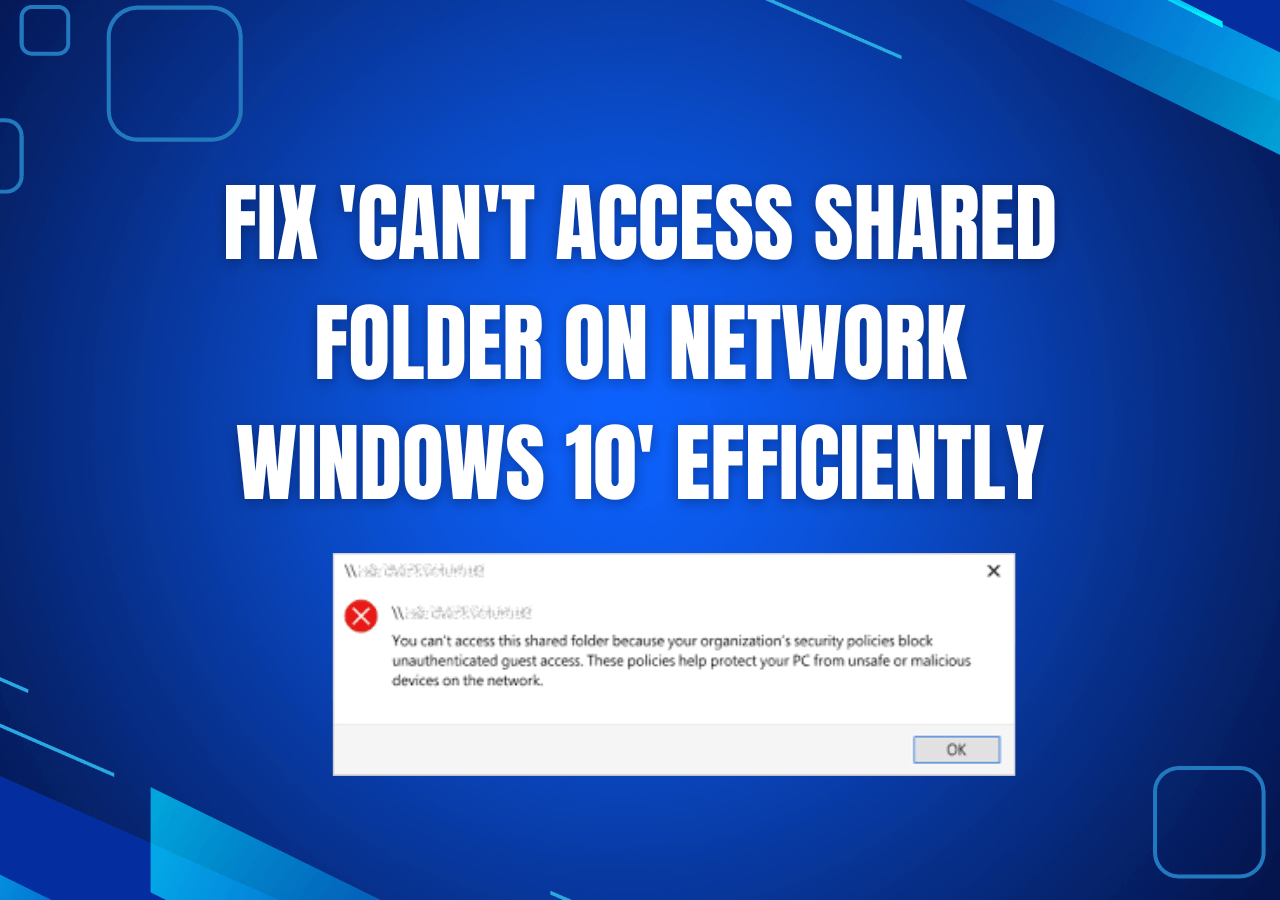
Fix 'Can't Access Shared Folder on Network Windows 10' Efficiently
Tracy King updated on Apr 01, 2025 to PC Transfer | How-to Articles
Fix the 'Can't Access Shared Folder on Network Windows 10' error with our guide. Follow efficient solutions to troubleshoot and regain access to shared folders instantly.
Users using shared folders on a network can conveniently access files and resources from other computers on the same network. These shared folders enable flawless file management and cooperation among several devices. On a Windows 10 PC, however, running across problems whereby you cannot access a shared folder might aggravate, particularly in crucial file sharing or retrieval cases. This post will bring you through doable fixes for this issue so you may access your shared files.

If you need to quickly share files between computers or are looking for a reliable solution, utilizing specialized file transfer software is the best option. EaseUS Todo PCTrans is considered one of the most efficient resources for this task. This software offers a simple and effective method for moving and exchanging files among computers, whether nearby or far apart.
EaseUS Todo PCTrans provides two strong functions: File Sharing and PC-to-PC.
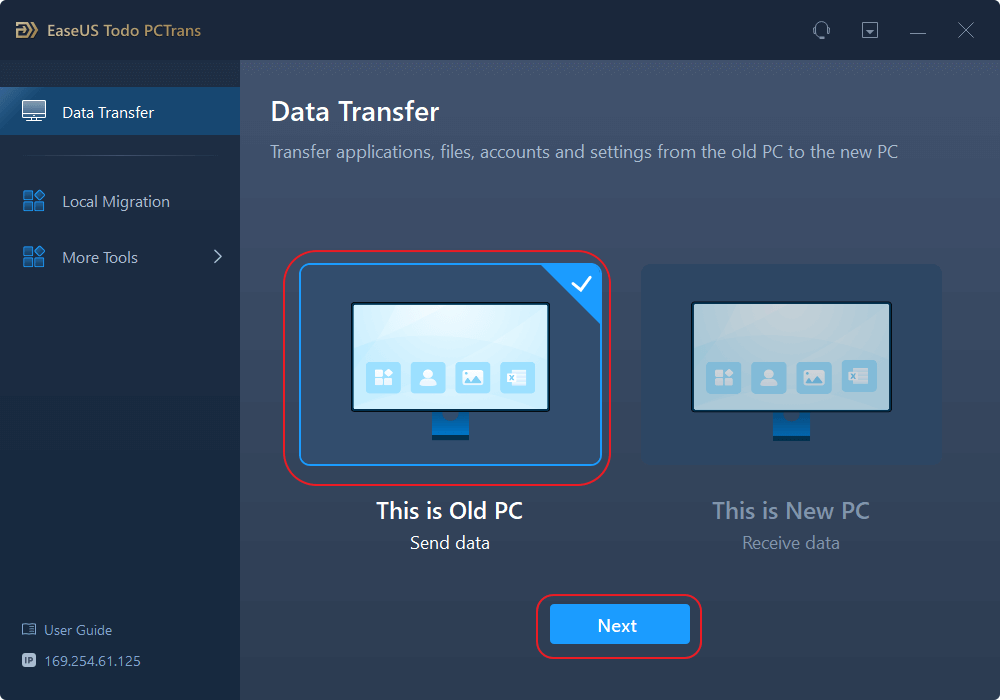
Step 1. Set Up the Old PC

Step 2. Set Up the New PC
Step 3. Select the Files to Transfer
Step 1. Install and open EaseUS Todo PCTrans on source and target PCs. Navigate to the "File Sharing" tab and click "Start" to begin. This feature can achieves high transfer rates by utilizing the maximum available network bandwidth.
Step 2. To build the connection between two PCs, you need to ensure both of them are under the same network. Then, choose the target PC icon or click "Add PC" and enter the other PC's connection code.
Step 3. Drag and drop the videos, pictures, audios, and documents that you want to transfer. Then, you check them in the Receive lists on your target PC.
EaseUS Todo PCTrans is a great place to start when resolving shared folder access issues on Windows 10. It circumvents common network issues and ensures your files are transferred without complications. If you like this tool, don't forget to share it online to help more of your friends share files between local PCs or transfer files to remote computer easily:
Try a straightforward file transfer solution first, and if the problem still exists, it may have anything to do with your Windows 10 PC's networking services. Access to shared folders can frequently be restored by restarting these services in the event of a connectivity issue. To restart your networking services and possibly resolve the problem, follow these steps:
Steps to restart network services:
The next step is to ensure that Network Discovery is turned on if restarting the networking services didn't fix the problem. Network Discovery is needed to get to shared files because it lets your computer find other devices on the network. To turn it on, do this:
After enabling Network Discovery, try accessing the shared folder to see if the problem is resolved.
Resetting your network settings may fix underlying setup issues that block shared folder access if turning on Network Discovery doesn't work. By resetting the network settings, all network-related settings will be reverted to their default condition, addressing misconfigurations generating access issues. Resetting your network settings follows:
After your PC restarts, reconnect to your network and check if you can now access the shared folder.
Restarting your computer and configuring file sharing via the Shared Folder feature could be useful if everything else fails. This procedure guarantees that your PC is correctly set to distribute files over the network. On a Windows 10 network, follow these detailed instructions on file sharing via a shared folder:
Sometimes, accessing a shared folder on a Windows 10 network might be challenging, even with the right permissions in place. The reasons for this problem could range significantly from network configuration issues to deactivated services or erroneous Windows settings.
When faced with an urgent file transfer situation and unable to access the shared folder, EaseUS Todo PCTrans is a dependable option. This software allows you to share files rapidly and without delay to the destination PC.
After moving your data safely, follow Methods 2, 3, and 4 to fix the issues preventing shared folder access.
These methods will ensure that your network configuration is running correctly and that all devices can access shared files.
If you still have questions related to accessing shared folders on a Windows 10 network, find answers below.
1. Why can't I access the shared folder?
Windows 10 network shared folders may be inaccessible for numerous reasons. Common culprits include misconfigured network settings, such as deactivated Network Discovery, wrong shared folder permissions, or firewall or antivirus software obstructing the connection. Shared folders on turned-off or unconnected computers are also inaccessible.
2. How to share files through Shared Folder in Windows 10 using the IP address?
To share files through a shared folder using the IP address in Windows 10, follow these steps:
3. Can I share files through a LAN cable?
Yes, LAN cables allow file sharing between machines. Connect both computers over Ethernet and link them to the same network. Following file sharing on both devices, utilize File Explorer's Network section to identify and access shared folders across the connected PCs. This approach transfers files quickly and securely without an internet connection.
Related Articles
How to Transfer Xbox Games to PC [Step-by-Step]
How to Transfer User Account and Profile from Windows 7 to Windows 10/11
How Do I Transfer My Netflix from One Device to Another?
How to Move Files from HDD to SSD Windows 11 | 2 Solid Ways